早就听说有 TLS1.3 了,一直心痒痒,想折腾折腾试试。以前浏览器支持的不多,网上也没太多人试过,不太敢趟雷。现在有一些大型网站网站已经弄上了 TLS1.3,也有不少博主给自己的博客升级了 TLS1.3 了,留下了宝贵的经验。我也忍不住了,今天就来折腾一下看看。Openssl 1.1.1 LTS 已经发布,更新一下 TLS1.3 正式版。
Nginx: nginx-1.15.4
OpenSSL: openssl-1.1.1(LTS)
1
2
sudo apt update sudo apt install -y build-essential libpcre3 libpcre3-dev zlib1g-dev liblua5.1-dev libluajit-5.1-dev libgeoip-dev google-perftools libgoogle-perftools-dev
1
2
3
4
wget https://nginx.org/download/nginx-1.15.4.tar.gz tar zxf nginx-1.15.4.tar.gz wget https://www.openssl.org/source/openssl-1.1.1.tar.gz tar zxf openssl-1.1.1.tar.gz
1
2
3
4
5
6
pushd openssl-1.1.1 # 打TLS1.3 Draft 23, 26, 28, Final补丁 curl https://raw.githubusercontent.com/hakasenyang/openssl-patch/master/openssl-equal-1.1.1_ciphers.patch | patch -p1 # 打ignore Strict-SNI log 补丁 curl https://raw.githubusercontent.com/hakasenyang/openssl-patch/master/openssl-ignore_log_strict-sni.patch | patch -p1 popd
1
2
3
4
5
6
7
pushd nginx-1.15.4 # 打SPDY, HTTP2 HPACK, Dynamic TLS Record, Fix Http2 Push Error, PRIORITIZE_CHACHA补丁 curl https://raw.githubusercontent.com/kn007/patch/43f2d869b209756b442cfbfa861d653d993f16fe/nginx.patch | patch -p1 curl https://raw.githubusercontent.com/kn007/patch/c59592bc1269ba666b3bb471243c5212b50fd608/nginx_auto_using_PRIORITIZE_CHACHA.patch | patch -p1 # 打Strict-SNI补丁 curl https://raw.githubusercontent.com/hakasenyang/openssl-patch/master/nginx_strict-sni.patch | patch -p1 popd
如果原本编译安装过 Nginx,可以输入nginx -V,查看以前的 configure 配置。在后面加上所需参数进行编译。
关键参数:
添加--with-openssl=../openssl-1.1.1来指定 OpenSSL 路径
HTTP2 HPACK需要加入--with-http_v2_hpack_enc参数。SPDY需要加入--with-http_spdy_module
注意将--with-openssl参数改为自己的 OpenSSL 文件夹地址。
我的完整 configure 命令如下,请类比进行。
1
2
3
4
5
6
7
8
9
10
11
12
13
14
15
16
17
18
19
20
21
22
23
24
25
26
27
28
29
cd nginx-1.15.4 ./configure \ --user=www \ --group=www \ --prefix=/usr/local/nginx \ --with-http_stub_status_module \ --with-threads \ --with-file-aio \ --with-pcre-jit \ --with-http_ssl_module \ --with-http_v2_module \ --with-http_gzip_static_module \ --with-http_sub_module \ --with-http_flv_module \ --with-http_mp4_module \ --with-http_gunzip_module \ --with-http_realip_module \ --with-http_addition_module \ --with-stream \ --with-stream_ssl_module \ --with-stream_ssl_preread_module \ --with-stream_realip_module \ --with-http_slice_module \ --with-http_geoip_module \ --with-google_perftools_module \ --with-openssl=../openssl-1.1.1 \ --with-http_v2_hpack_enc \ --with-http_spdy_module
configure 完成后,输入以下语句开始编译。
编译完成后,如果没有报错,输入以下内容进行安装。
将以下内容加入你的 conf 文件的相应位置,替换掉原本的相应内容。由于安全性升级的考虑,我删除了 TLS1 和 TLS1.1。除此以外,TLS1.3 的新加密套件只能在 TLS1.3 中使用,旧的加密套件不能用于 TLS1.3。似乎所有虚拟主机都要配置才能使用 TLS1.3。
1
2
3
4
5
ssl_early_data on; ssl_protocols TLSv1.2 TLSv1.3; ssl_ciphers [TLS13+AESGCM+AES128|TLS13+AESGCM+AES256|TLS13+CHACHA20]:[EECDH+ECDSA+AESGCM+AES128|EECDH+ECDSA+CHACHA20]:EECDH+ECDSA+AESGCM+AES256:EECDH+ECDSA+AES128+SHA:EECDH+ECDSA+AES256+SHA:[EECDH+aRSA+AESGCM+AES128|EECDH+aRSA+CHACHA20]:EECDH+aRSA+AESGCM+AES256:EECDH+aRSA+AES128+SHA:EECDH+aRSA+AES256+SHA:RSA+AES128+SHA:RSA+AES256+SHA:RSA+3DES; ssl_ecdh_curve X25519:P-256:P-384; ssl_prefer_server_ciphers on;
最后使用nginx -t测试 nginx 配置的正确性。
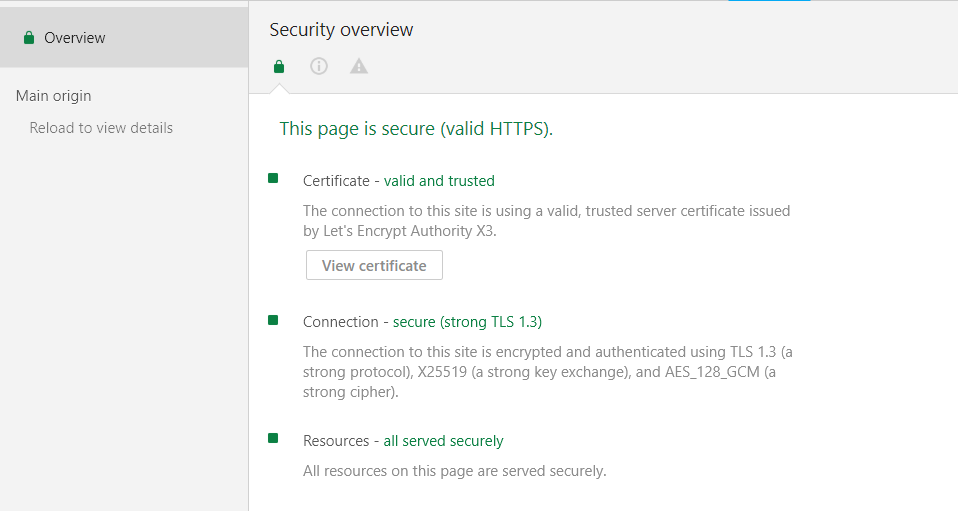
重启 Nginx,你会发现你的网站已经是 TLS1.3 连接了。
我原本使用的是 Nginx 1.14.0,现在升级到了 1.15.4,配置文件可能会报以下警告。当然,由于只是警告,并不会影响运行,只是我强迫症受不了。
1 nginx: [warn] the "ssl" directive is deprecated, use the "listen ... ssl" directive instead in /usr/local/nginx/conf/vhost/www.iszy.cc.conf:22
这是由于在主线版本 v1.15.0 以后,弃用了ssl标识。官方原话是这样的:
The “ssl” directive is deprecated; the “ssl” parameter of the “listen” directive should be used instead.
解决方案很简单,只需要删除配置文件中的ssl on语句,采用listen语句替代,如listen 443 ssl。原本就使用listen 443 ssl语句的就更简单了,直接删除ssl on语句即可。
好了,到这里,教程算是结束了。OpenSSL 1.1.1 LTS 已经正式发布了,TLS1.3 也已经正式公布。现阶段,Nginx、Apache 等主流 web 服务器还没有官方支持,还需要通过打补丁的方式进行支持。期待 TLS1.3 全面铺开后对网络隐私和抗审查作出的贡献。