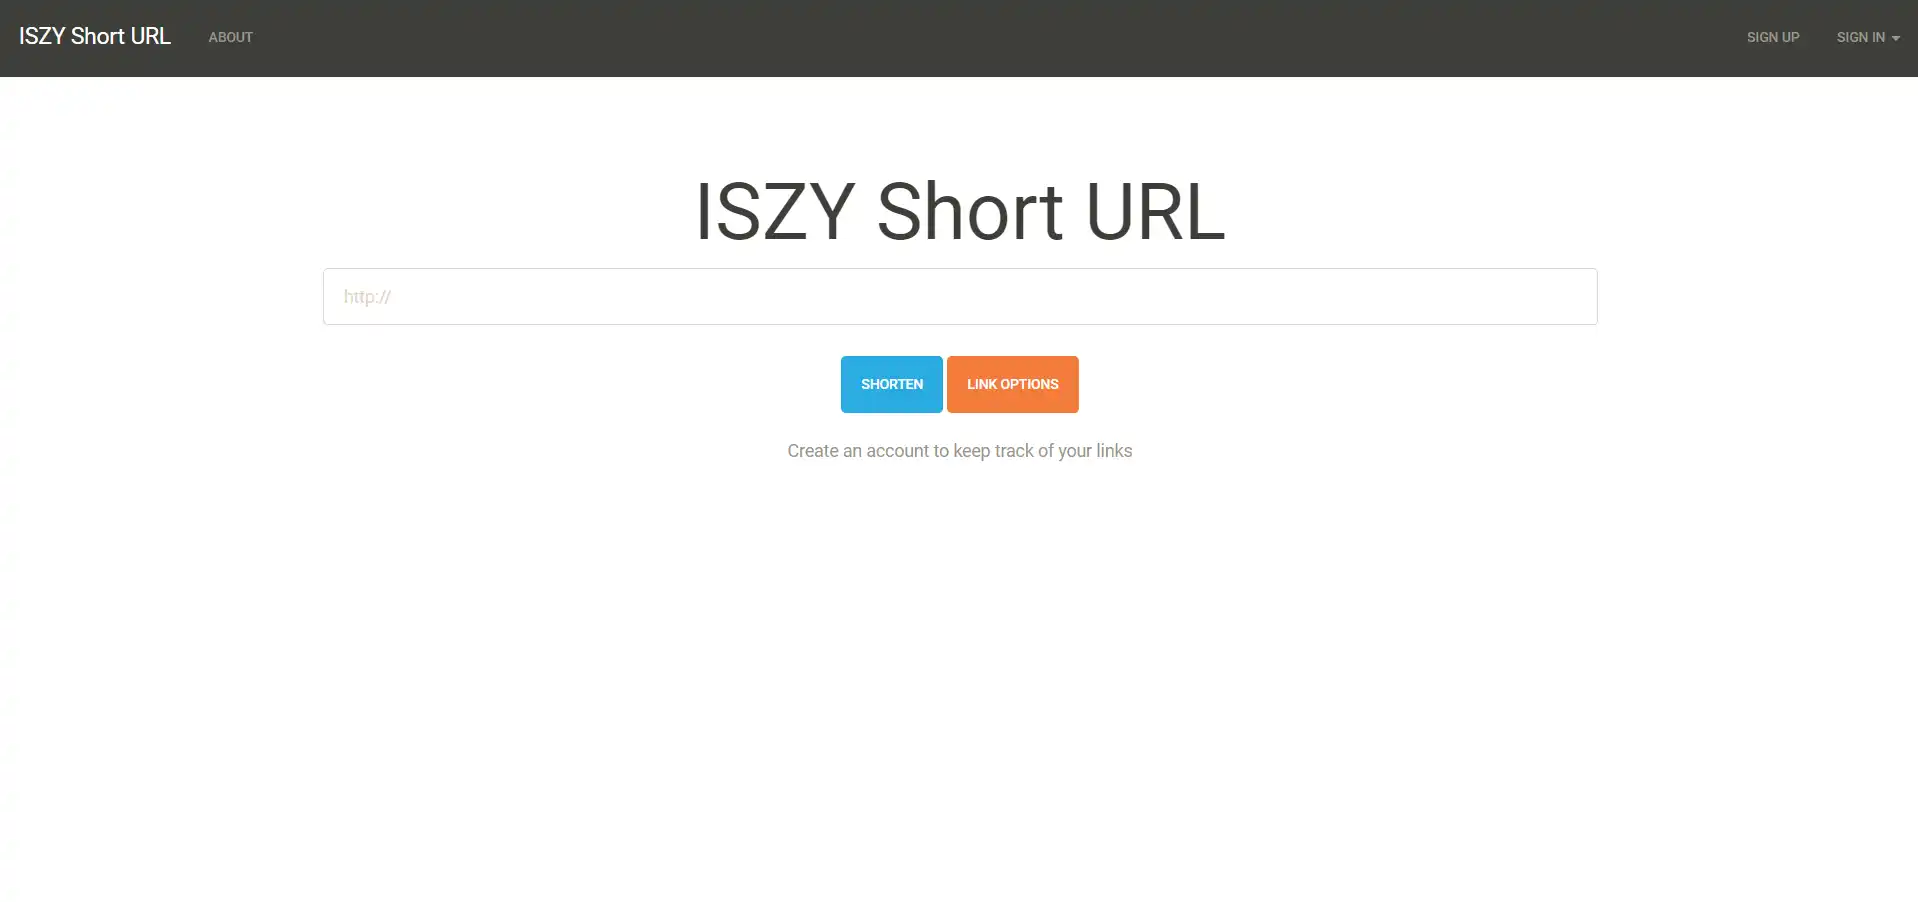
也曾想过自己写一个短域名服务,毕竟原理还是相当简单的。但是前端是真的难搞,我是真的玩不来。既然已经有造好的轮子,干嘛还自己造,是吧。这个 Polr 就是一个非常好用的短域名服务,功能也比较完善。在这里记录一下部署的过程。最近折腾 docker,这玩意在 docker 中表现挺诡异的,我准备切换成现有的 yourls 的 docker 了。
Apache, nginx, IIS, or lighttpd (Apache preferred)
PHP >= 5.5.9
MariaDB or MySQL >= 5.5, SQLite alternatively
composer
PHP requirements:
OpenSSL PHP Extension
PDO PHP Extension
PDO MySQL Driver (php5-mysql on Debian & Ubuntu, php5x-pdo_mysql on FreeBSD)
Mbstring PHP Extension
Tokenizer PHP Extension
JSON PHP Extension
PHP curl extension
Ubuntu 18.04 LTS
Nginx 1.14.0
PHP 5.6.36
Mysql 8.0.11
Composer 1.7.1
我使用的是军哥的 LNMP 一键脚本,点击这里 前往官网。
Composer 的安装,我在之前的文章已经叙述过了。请参考:Ubuntu 安装使用 Composer 。
1
2
3
4
5
sudo su #使用 root 权限 cd /home/wwwroot git clone https://github.com/cydrobolt/polr.git --depth=1 chmod -R 755 polr chown -R www:www polr
1
2
cd polr composer install --no-dev -o
以 nginx 为例,以下是官方配置。
1
2
3
4
5
6
7
8
9
10
11
12
13
14
15
16
17
18
19
20
21
22
23
24
25
26
27
28
29
30
31
32
33
34
35
36
37
38
39
40
41
42
43
44
45
46
47
48
49
50
51
52
53
54
55
56
57
58
59
# Upstream to abstract backend connection(s) for php upstream php { server unix:/var/run/php-fpm.sock; server 127.0.0.1:9000; } # HTTP server { listen *:80; root /home/wwwroot/polr/public; index index.php index.html index.htm; server_name example.com; # Or whatever you want to use # return 301 https://$server_name$request_uri ; # Recommended for public, internet-facing, websites. location / { try_files $uri $uri/ /index.php$is_args$args; # rewrite ^/([a-zA-Z0-9]+)/?$ /index.php?$1; } location ~ \.php$ { try_files $uri =404; include /etc/nginx/fastcgi_params; fastcgi_pass php; fastcgi_index index.php; fastcgi_param SCRIPT_FILENAME $document_root$fastcgi_script_name; fastcgi_param HTTP_HOST $server_name; } } # HTTPS # server { # listen *:443 ssl; # ssl_certificate /etc/ssl/my.crt; # ssl_certificate_key /etc/ssl/private/my.key; # root /home/wwwroot/polr/public; # index index.php index.html index.htm; # server_name example.com; # # try_files $uri $uri / /index.php$is_args$args ; # # } # # try_files $uri =404; # include /etc/nginx/fastcgi_params; # # fastcgi_index index.php; # fastcgi_param SCRIPT_FILENAME $document_root$fastcgi_script_name ; # fastcgi_param HTTP_HOST $server_name ; # } # }
登入 mysql
创建数据库,名字任取,安装时会用到。
退出 mysql
复制初始.env
访问http://你设定的地址/setup/即可进行安装,网页上都有详细解释,就不在这里多说了。
需要注意的是,当安装完成后,只能在polr文件夹中的.env文件修改设置。你将无法再次访问安装页面。
我个人部署的短域名服务:ISZY Short URL 。有需要的可以使用。
